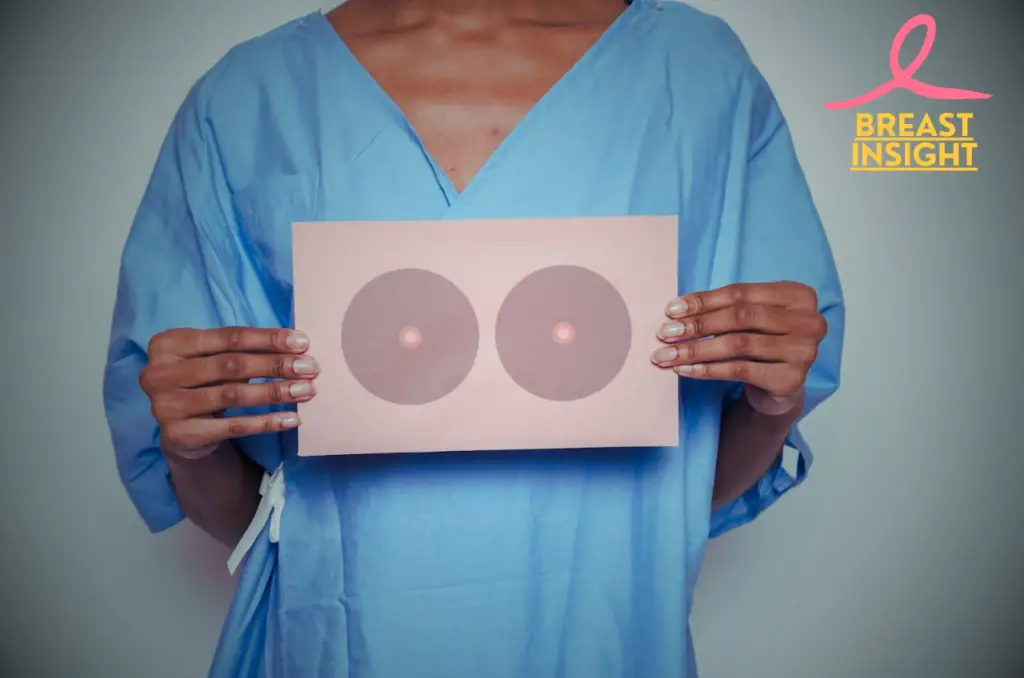
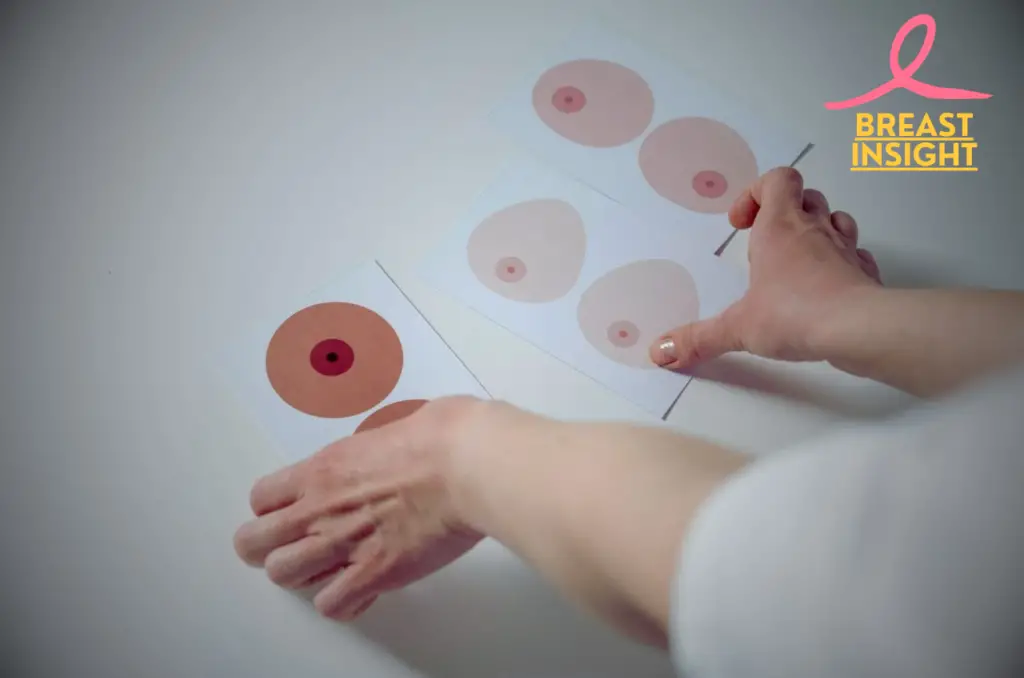
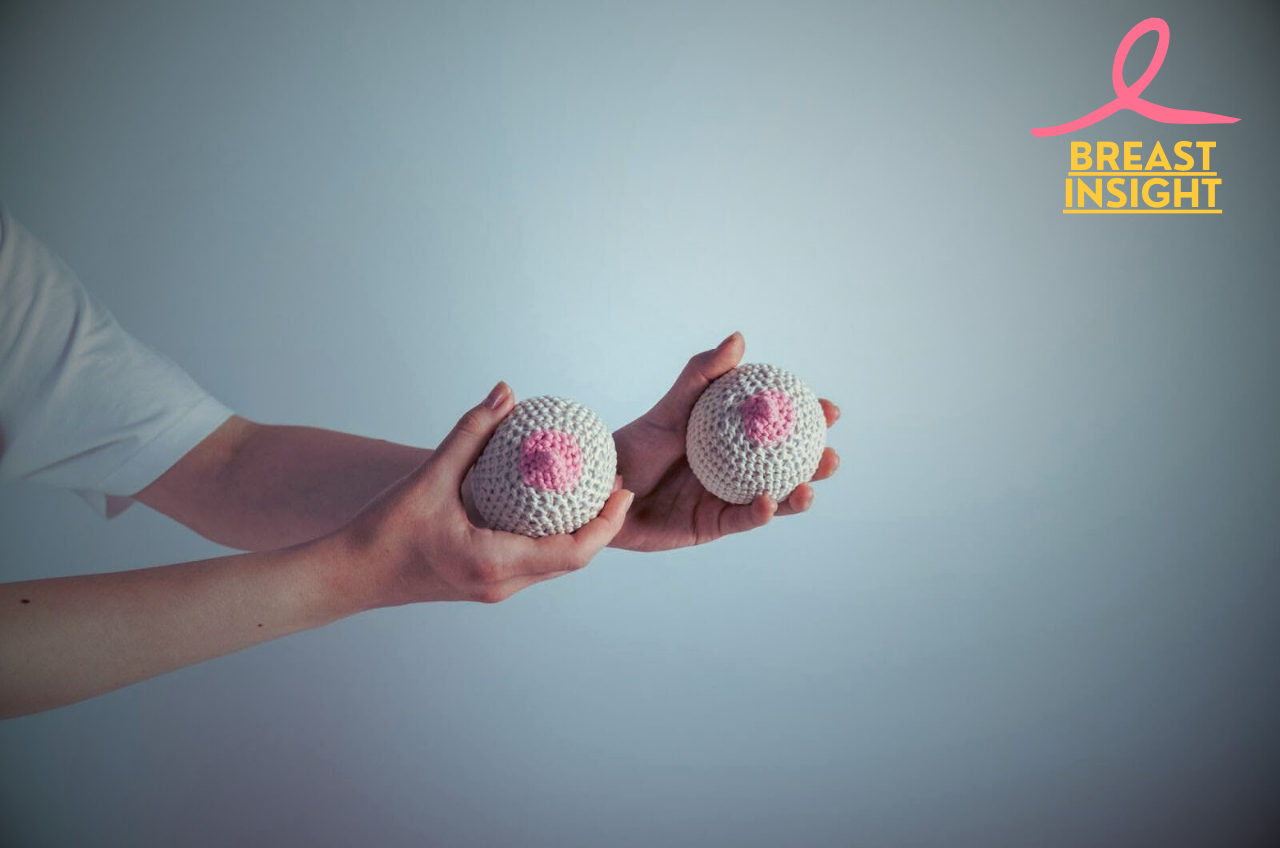
Early detection is the best weapon against breast cancer. Yet, many women do not know how to properly perform breast self examination or feel uncertain whether they can do it right. Given that 1 in 8 is diagnosed with breast cancer at some point during their lifetime, controlling your breast health isn’t just important; it’s critical. To better understand cancer, including its causes, symptoms, and treatment options, explore our detailed guide here.
When done periodically, breast self examinations may help you detect subtly changing things that may pass unknown between doctor visits. These self-exams are a simple, free, and intimate way to take charge of one’s health. Call it a monthly date with yourself-one that might just save your life.
In this comprehensive guide, we will guide you everything you need to know about a breast self-exam-from basic concepts to step-by-step procedures and direction on how to be alert to potential warning signs. We will outline the warning signs that command our attention and guide you on how to simply fit this in with your monthly regimen. Empowering ourselves, step by step, in the pursuit of health, one self-exam at a time.

Understanding Breast Self Examination
What is a breast self examination?
The breast self examination is a delicate technique in the quest to notice anything amiss or out of place in the breast tissue. This active approach to breast health includes both visual inspections and actual palpation of your breasts, using a specific pattern of movements. If you’re curious about breast cancer, including its causes, symptoms, and treatment options, explore our comprehensive guide here.
Why regular checks matter
Regular breast self-exams are vital for the following reasons:
- Early signs of breast changes
- Know your usual breast tissue
- Increased awareness of breast health
- Complementary to clinical examinations
- Cost-free screening method
| Benefit | Impact |
| Early Detection | Increases treatment success rates |
| Self-Awareness | Helps identify changes quickly |
| Prevention | Reduces risk of late-stage diagnosis |
| Cost-Effective | No financial burden |
The ideal moments for conducting self-exams
The breast self examination requires a particular time.
- 7-10 days after the onset of your menstrual cycle
- When breasts are least likely to be swollen or tender
- Same time each month for post-menopausal women
- Monthly consistency for those who’ve had mastectomies
Common myths
Some misconceptions about breast self examination should be corrected:
Myth 1: Discovering a lump signifies cancer
- Truth: Most breast lumps are benign
Myth 2: Self-exams only for mature women
- Truth: Women of any age should under-do regular check-ups.
Myth 3: Small breasts do not deserve screening
- Truth: Breast size doesn’t affect cancer risk
Myth 4: Self-exams replace mammograms
- Truth: They complement but do not replace professional screening
Knowing the right techniques of breast self examination is vital to maintaining one’s breast health. While not each change in breast tissue presents cancer, knowing your usual breast morphology enables you to notice disconcerting differences early. Regular breast self examination give you mastery over your breast health and convince you to see a doctor immediately if something abnormal should appear. For insights into navigating life after breast cancer, including intimacy and self-confidence, read our dedicated article on Sexual life after breast cancer.
Now that we have an understanding of the concepts of breast self examination, let us proceed to the step-by-step procedure for performing it.

Step-by-Step Examination Guide
Visual Inspection Techniques
Start in a bright room in front of a mirror. Compare your breasts in three views:
- Arms relaxed at your sides
- Arms raised above your head
- Hands firmly pressed on your hips
Look for changes in size, shape, skin texture, or nipple position. Note any dimpling, puckering, or redness. While breast cancer is often associated with women, men can also develop breast cancer. To learn more, explore our comprehensive guide on male breast cancer.
Physical Examination Methods
Divide each breast into four quadrants in an orderly manner in your mind.
| Quadrant | Area Description | Key Focus Points |
| Upper Outer | Armpit to nipple | Most common area for changes |
| Upper Inner | Cleavage area | Check up to breastbone |
| Lower Outer | Side area | Include side tissue |
| Lower Inner | Under breast | Check under breast fold |
Suitable finger movements
Use the pads of your index, middle, and ring fingers to play three slightly different rhythms:
- Circular motion: Small circles spiraling outward from the nipple.
- Vertical motion: Up and down like mowing a lawn
- Wedge motion: Starts at the nipple and works outwards like pizza slices
Examination Positions
Carry on the examination in these key positions:
- Inspect visually while standing erect
- Lying down with a pillow under shoulder
- Sitting or standing to examine underarm
Pressure Levels to Use
Use three levels of pressure during testing:
- Light pressure for examining the tissue near skin
- Medium pressure: To sense mid tissue
- Deep pressure: To examine deeper tissue around the chest wall
Remember to use a good consistent pressure throughout each step, and work systematically through the areas one at a time. The total breast self examination will take about 10-15 minutes. Having understood the right techniques for examination, let’s proceed to what specific changes or abnormalities you should look out for during your self-examination.
| Pressure Level | Purpose | Tissue Depth |
| Light | Surface tissue | Just below skin |
| Medium | Middle layer | 1-2 inches deep |
| Firm | Deep tissue | Close to ribcage |

What to Look For
Normal Breast Texture
A normal breast typically feels smooth but slightly lumpy, like soft textured tissue. Practicing a sense of your normal breast texture is important because:
- Breasts comprise milk glands, ducts, and fatty tissue
- Texture varies among individuals
- Changes unfold naturally throughout the menstrual cycles
- Age and hormonal status related density variations
Warning signs and changes
Look out for these signs during your reflection:
Visual Changes:
- Dimpling or puckering of skin
- Inversion or changes of nipple orientation
- Redness or scaliness
- Unusual swelling
- Changes in breast size or shape
Physical Changes:
- Hard lumps or knots
- Thickening tissue
- Unusual breast tenderness
- Nipple discharge (especially if bloody)
- No cyclical changes in pain and correlate
Common Benign Conditions
| Condition | Description | Typical Characteristics |
| Fibrocystic Changes | Normal hormonal variations | Soft, mobile lumps that change with cycle |
| Fibroadenomas | Solid, noncancerous tumors | Round, smooth, movable masses |
| Cysts | Fluid-filled sacs | Soft, round, tender lumps |
| Nipple Discharge | Various causes | Clear or milky, usually bilateral |
Most of the alterations in the breasts are benign; however, the following characteristics call for closer examination:
- Asymmetric changes that impact only one breast.
- New lumps that are left after menstruation
- Changes that progressively worsen
- Skin lesions with orange peel-like texture
- Unexplained nipple discharge, especially if bloody
Frequent breast self examination enables you to familiarize yourself with the normal texture of your breast tissue, and any concerning changes may be identified. If you notice persistent or unusual changes, understanding the causes of breast cancer can provide clarity and encourage early intervention. The key point is to notice continuous changes that are outside of your normal breast texture and appearance.
Understanding what to look out for under this process of breast self examination, let’s make it easy to introduce this life-saving health practice into your routine.

Making It a Routine
Setting Monthly Reminders
The key of good breast self examination is consistency. Create a recurrent monthly reminder that fits perfectly into your schedule:
- Online calendar reminders
- Smartphone health app notifications
- Physical calendar markings
- Associates with monthly events (first day of period or a specific date)
For premenopausal women, the ideal time is 7-10 days after the start of your menstrual cycle, when breast tissue is least tender. Postmenopausal women can choose any consistent date.
Track Changes
Keep a record of your examination over time to note subtle changes.
| Recording Method | Benefits | Recommended Features |
| Digital Apps | Auto-reminders, Cloud storage, Visual mapping | Progress tracking, Note-taking capability |
| Written Journal | Private, Detailed observations, No tech required | Monthly templates, Body diagrams |
| Health Tracker | Integration with other health data, Professional format | Symptom logging, Medical history |
Record these critical elements throughout each test:
- Texture changes
- Size differences
- Skin conditions
- Areas of Concern
- Date of examination
Create a Comfort Zone
Establishing a comfortable environment enhances examination effectiveness:
- Select a private, bright room
- Make large mirror for visual inspections
- Room temperature comfort
Keep examination supplies nearby:
- Body lotion or oil for smooth examination
- Clean towel
- Recording method of choice
Make a mini-ritual that gets you centered:
- Practice deep breathing
- Play soothing music.
- Use aromatic oils
- Ensure uninterrupted time
Keep in mind that breast awareness is a continuous journey. Regular breast self examinations become increasingly effective as you grow accustomed to the natural texture of your breast tissue. This understanding allows you to notice any unusual changes with greater speed. If you discover a lump or any unexpected changes, understanding what a breast lump means can guide your next steps and help alleviate unnecessary fear.
Now that you’ve established a routine, it’s crucial to know when changes warrant professional medical attention. Let’s explore the warning signs that should prompt a healthcare visit.

When to Seek Medical Help
Regarding Symptoms
Though regular breast self examinations are beneficial for maintaining awareness of your breast health, certain changes necessitate prompt medical attention:
- Lumps or thickening in the breast tissue or armpit.
- Change in breast size, shape, or appearance.
- Skin dimpling or puckering
- Nipple changes (inversion, discharge, or redness)
- Persistent breast pain
- Rash or scaling on breast or nipple
- Swelling in armpit area
Professional Screening Recommendations
| Age Group | Screening Frequency | Type of Screening |
| 20-39 years | Every 1-3 years | Clinical breast exam |
| 40-74 years | Annually | Mammogram + Clinical exam |
| 75+ years | Based on individual health | Discuss with healthcare provider |
Follow-up Procedures
On finding disturbing trends, the steps thereafter are mostly as follows:
- Initial consultation with a general practitioner
- Clinical breast examination
- Diagnostic imaging if needed:
- Diagnostic mammogram (DM)
- Breast ultrasound (BU)
- MRI (in specific cases)
- Possible biopsy if abnormalities are detected
Finding the Best Health Care Provider
Choose a health care professional who:
- Specializes in breast health
- Has extensive experience in breast examinations
- Makes you feel Comfortable and listens to you
- Proper clear explanation
- Is affiliated with accredited medical facilities
- Offers comprehensive follow-up care
Seek out providers through:
- Referrals from primary care physician
- Breast health centers
- Medical society directories
- Patient reviews and recommendations
Keep track of your changes and any medical appointments. Write down dates, possible symptoms, and recommendations for medical follow-up. Such records will help the healthcare provider make a better judgment about your status.
While early detection is crucial, understanding the potential implications of treatment is equally important. For example, treatments like radiation therapy, while effective, may come with side effects. Learn more about the real side effects of radiation therapy to stay informed and prepared for potential next steps.
It calls for consistent self-inspection and addressing suspicious changes promptly. Above all, learn when to transition from monitoring yourself to professional assessment. Knowing when to visit the doctor forms part of the confidence to integrate your monthly self-exams with necessary professional care. Subsequently, there will be an integrated approach in managing your breast health altogether.

Conclusion
Breast Self examination is the most straightforward and productive actions that may enable you to catch any possible malfunction of your breast tissue in its earliest stages. Knowing the techniques of a proper examination as well as what to pay attention to increases your insights of breast tissue and notifies you when something abnormal appears.
Perform monthly Breast self examinations of your breasts, preferably 3 to 5 days after your menstrual cycle. Look for lumps, change in size and shape of your breasts, dimpling on your skin, nipple discharge, or other types of concerns- it’s time to call your healthcare provider. Early detection is the only way to save lives – your proactive move today will certainly make a big difference tomorrow.
Frequently Asked Questions (FAQs)
What is the purpose of a breast self examination?
It encourages women to become acquainted with what their usual breast looks like and feels like. This has increased the awareness of where to inspect for imperfections such as lumps, differences in shape, or irregular pigmentation changes and other significant changes. Although the American Cancer Society and other health care organizations do not endorse BSE’s as the norm of screening, it can be a very helpful supplement to the standard clinical examinations and mammography.
When is the best time to perform a breast self-exam?
Ideally, this should be when you are from 3 to 5 days into your menstrual period, when changes in hormones are minimal and your breasts are less tender and swollen. If you are postmenopausal or have no regular periods, choose a date once a month that you’ll use for your examination.
How do I properly perform a breast self-exam?
To Perform a Breast Self Examination
Step 1: Start by looking in the mirror while standing up to note whether there is a change in your breasts’ size, shape, or texture.
Step 2: Use the pads of your fingers to check for lumps or abnormalities on your body both lying down and standing up, applying varying levels of pressure to touch all tissues.
Step 3: Gently hug the axillary area and tap the nipples lightly to check for any discharge.
This should take around 15 minutes, and any changes you notice, you talk about with your health care provider.
What should I do if I find a lump or notice changes?
Most swelling, including lumps, are benign and can be related to hormonal changes, cysts, or other benign issues. However, anything from abnormal lumps to skin dimpling, nipple inversion, or changes in discharge warrants a visit to your physician to be examined further. Early reporting and expert advice are essential in investigating any issue identified.


1 thought on “5 Steps Against Hidden Dangers: Breast Self Examination Protect Yourself”